Seedream AI

Prompt fundamentals

A practical seedream 4.5 prompting guide

This seedream 4.5 prompting guide helps you turn a loose visual idea into a specific, testable image direction. Start with the subject, then add context, appearance, composition, and constraints.

Prompt handoff to Seedream
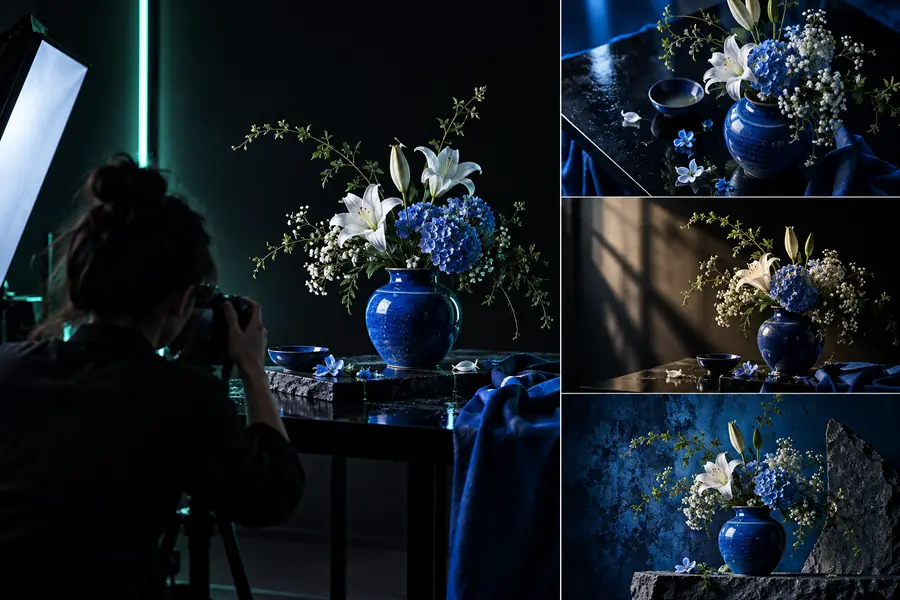
Creative image scene used as the guide's visual introduction

Set up your direction

Use these nearby references when you need to move from prompting basics into access, examples, or a hands-on workflow.

Choose a prompt goal

The best wording depends on what you are trying to control. Use one clear visual goal, then add only the details that support it.

Concept designer

You need a fast visual direction for a product, campaign, or scene before production begins.

Describe the subject, audience, mood, materials, and framing so the first generation becomes a useful concept rather than a vague sketch.

how to use seedream

Photographer

You want to explore lighting, lens language, setting, and pose without losing the identity of the subject.

State the visual treatment after the subject and action, then specify light direction, background separation, and composition.

how to use seedream

Brand team

You are testing several campaign directions that should share a recognizable tone.

Keep the brand-relevant traits stable across prompts and vary one creative variable at a time, such as setting, palette, or crop.

how to use seedream

Illustrator

You need an exploratory image with a particular medium, silhouette, palette, or storytelling beat.

Name the medium and the focal action directly, then describe the visual hierarchy instead of stacking unrelated style labels.

how to use seedream

Numbered steps

Treat each prompt as a compact creative brief. The sequence below gives you a repeatable starting point without forcing every image into the same formula.

  1. 1

    Name the subject and action

    Begin with the main subject and what it is doing. Replace broad wording such as “a nice room” with a concrete description such as “a narrow reading room with a person opening a tall window.”

  2. 2

    Add visual conditions

    Specify the setting, time, lighting, palette, materials, camera viewpoint, and composition only when they matter to the result. Put the most important constraints near the front.

  3. 3

    Review and revise one variable

    Inspect the output against your goal. If the subject is right but the mood is wrong, change the lighting or palette; if the composition is wrong, revise the viewpoint or crop rather than rewriting everything.

Prompt structure at a glance

These reference points are useful checkpoints for a first draft, not promises about output quality. The goal is a prompt that can be read, tested, and revised.

Name the visual focus before adding style.
1 subject
Build from subject to scene to visual treatment.
3 layers
Revise one major variable between tests.
1 change

Common errors and fixes

When a generation misses the brief, the issue is often prompt structure rather than a lack of adjectives. Use the smallest useful correction first.

Too many competing ideas

A prompt that combines several subjects, locations, moods, and art directions can leave the visual priority unclear.

Workaround

Choose one focal subject and one dominant treatment. Move secondary ideas into a later variation.

Style words without a scene

Words such as cinematic, beautiful, or high quality do not explain what should be visible, where it belongs, or how it should be lit.

Workaround

Describe the subject, action, environment, and viewpoint before adding a restrained style description.

Changing everything at once

If every revision changes the subject, palette, framing, and medium, you cannot tell which instruction improved the result.

Workaround

Keep the successful parts and adjust one major variable per iteration.

Expecting exact text or layout control

A visual prompt can communicate hierarchy and intent, but it may not produce precise copy, typography, or placement every time.

Workaround

Use the generation for visual exploration, then refine text and exact layout in a dedicated design workflow.

Compare a first draft with a focused revision

A useful revision does not need to be longer. It needs to make the missing visual decision explicit.

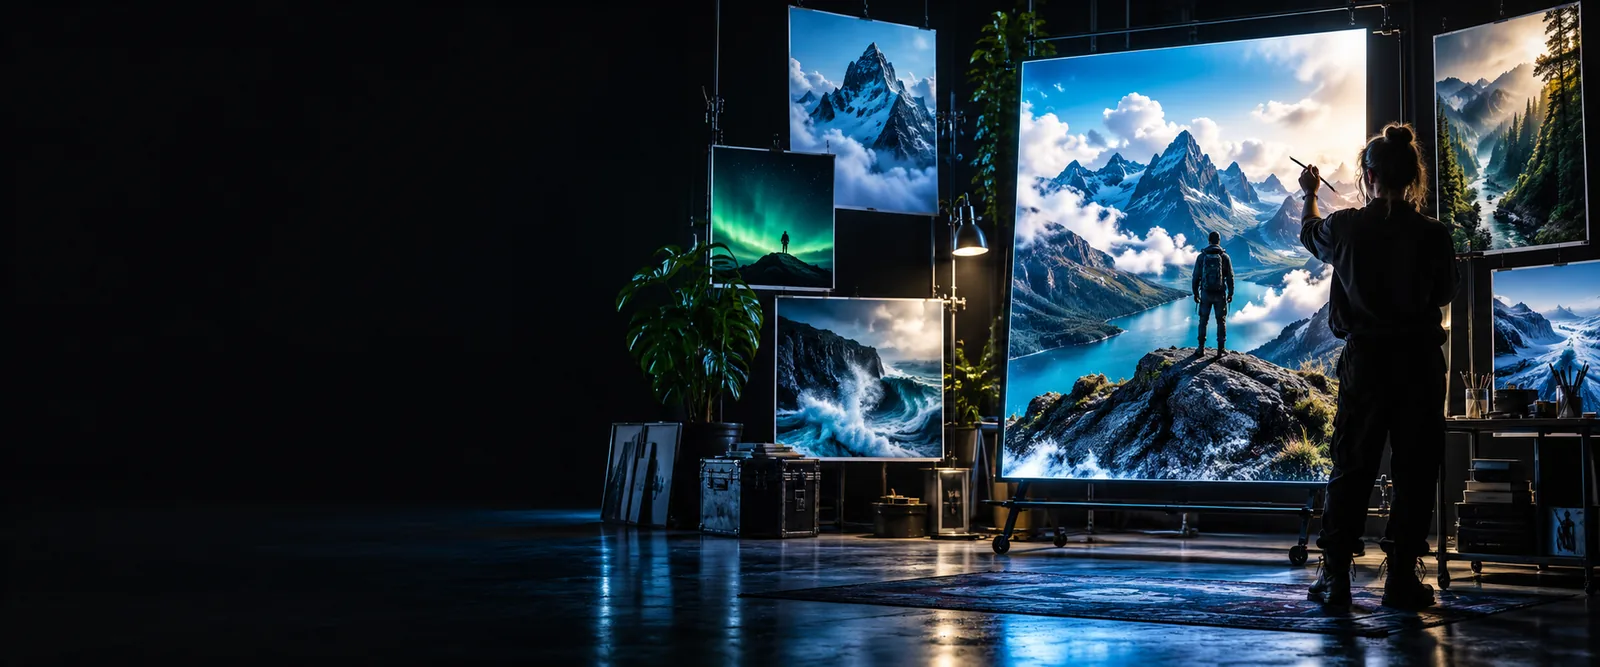
Initial visual direction for a Seedream 4.5 prompt Loose direction
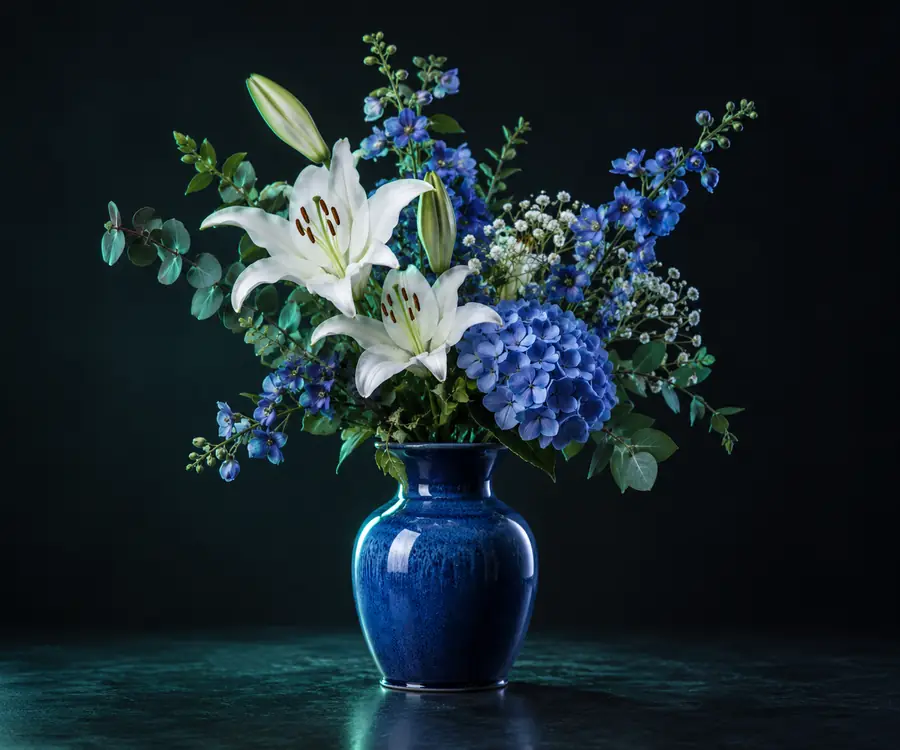
Refined visual direction with clearer scene and composition details Focused direction
The second pass adds a defined subject, setting, light, and composition instead of piling on generic adjectives.

Advanced tips

Turn prompt editing into a repeatable visual process

Once the basic structure works, use controlled variation to learn what the model responds to and to make your own prompting process easier to repeat.

For advanced Seedream work, separate creative intent from production constraints. Write the image you want in plain language first, then add the details that protect the result: aspect preference, viewpoint, lighting direction, palette, material cues, and the relationship between foreground and background. This makes it easier to diagnose a weak result because each instruction has a job. Keep a small record of successful wording rather than copying an entire prompt blindly. A phrase that works for a portrait may not help a landscape, while a composition instruction can often transfer between subjects. When an image is close, shorten the revision: preserve the subject and scene, then change only the visual treatment or camera position. You can also create deliberate variants by holding three elements steady and changing one, such as warm versus cool light or eye-level versus overhead framing. This gives you a clearer comparison than generating unrelated prompts. Finally, read the result as an editor: identify the strongest focal point, the distracting detail, and the one change most likely to improve the next pass. A good Seedream prompt is not the longest prompt; it is the clearest explanation of what matters most.
  • Put the visual priority first.
  • Use concrete nouns before abstract style terms.
  • Keep successful instructions stable during revisions.
  • Change one major variable when comparing results.

Tutorial FAQ

These answers address the practical question behind a seedream 4.5 prompting guide: how to write directions that are clear enough to test and improve.

It explains how to structure a visual request around the subject, action, setting, appearance, lighting, and composition. The aim is not to prescribe one magic formula, but to give you a repeatable way to write, review, and revise prompts.

There is no universal ideal length. Start with the subject and the most important visual decision, then add details that materially affect the image; remove adjectives that do not clarify the scene.

Put the main subject and action first, followed by the setting and the visual treatment. This ordering makes the focal idea easier to preserve when you later add lighting, palette, camera viewpoint, or composition.

Keep the parts that already work and identify the single largest mismatch. Revise one variable, such as framing, light, palette, or background detail, so you can tell whether the change solved the problem.

They are not required for every prompt. Begin by describing the desired result positively and concretely; add a concise exclusion only when a specific unwanted element repeatedly distracts from the brief.

Create images
Create images