Seedream AI

Choose your path

How to use seedream for a first image

Start by deciding whether you want to describe a new image or change one you already have. This guide separates those workflows because an editing request needs a source image, while a creation request starts with a written scene.

Check available options after opening
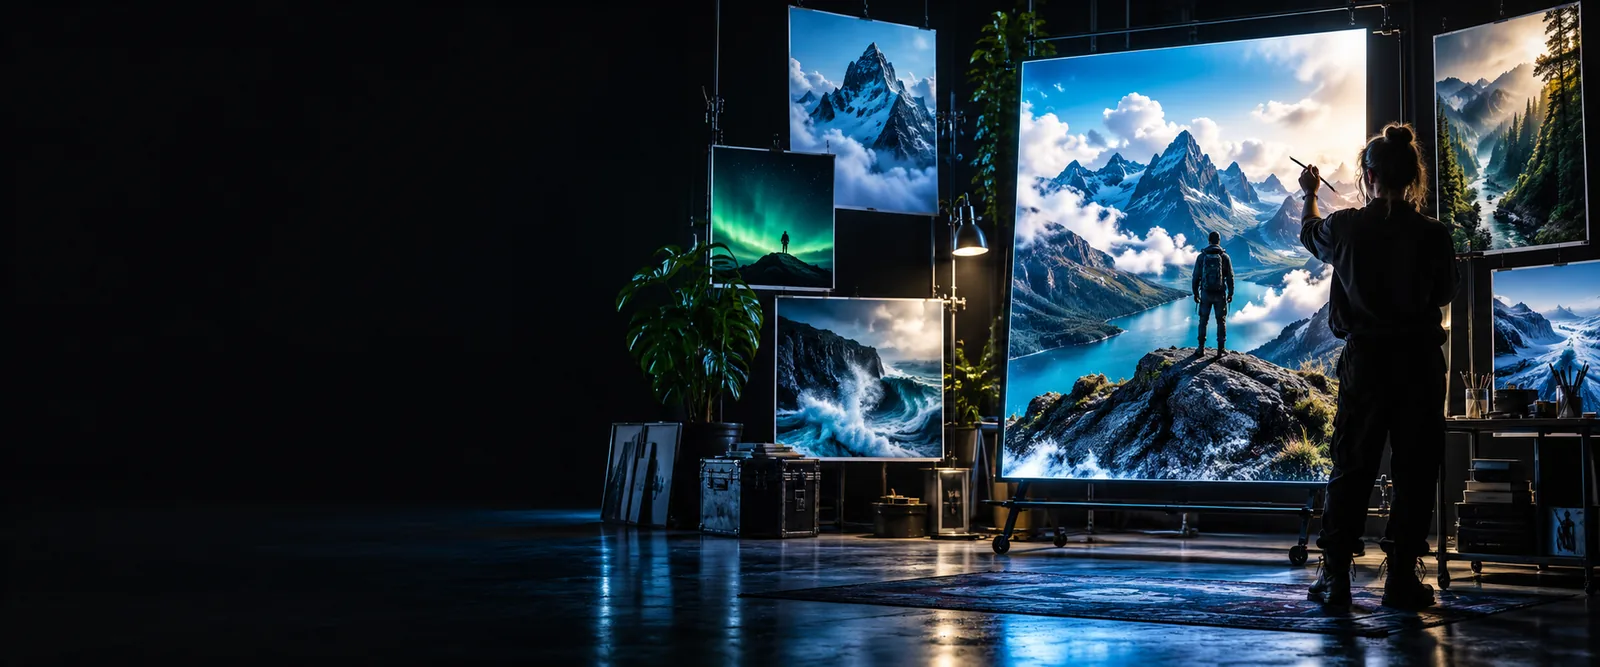
Seedream landing-page image showing a visual example

decide which case you are (decision table)

Use the starting material and desired change to pick a path before drafting a prompt. The related guides below cover narrower questions once you know what you are trying to do.

path A

If you have no source image, begin with a scene description. Treat the prompt as a brief: say what must appear, how it should look, and what should be left out.

A prompt is not a source photograph

Text alone cannot preserve the exact identity, layout, or tiny details of an image you have not supplied. Describing a familiar object may produce an interpretation rather than a faithful copy.

Workaround

If preserving an existing image matters, switch to the editing path and provide that image where the linked tool accepts uploads.

Specific wording does not guarantee exact output

A request for precise lettering, object counts, or placement can still yield a result that needs inspection. Do not treat a detailed prompt as proof that every requirement was met.

Workaround

Prioritize the most important constraint, inspect the result closely, and revise the wording or edit the image as needed.

This page cannot set tool options

The prompt box hands off your idea; it does not verify which controls, input types, or output settings are currently available at the linked destination.

Workaround

Open the destination, review its current interface, and adapt the request to the options it actually presents.

path B

If you already have an image, plan an edit around what must stay unchanged. The linked destination identifies a Seedream 5 Pro editing model, but confirm its current input options there.

  1. 1

    Choose a suitable source

    Pick the clearest image you have permission to use. Make sure the subject you want to change is visible, and keep a copy of the original so you can compare results without losing your starting point.

  2. 2

    Describe one clear change

    Name the target area and the requested change, then state what should remain. For example: change the background to a pale studio wall while keeping the bottle, its label, and the camera angle unchanged. Avoid combining unrelated edits in the first attempt.

  3. 3

    Inspect before revising

    Compare the result with your source at full size. Check edges, hands or faces if present, small text, shadows, and anything you explicitly asked to preserve. If one area failed, revise that instruction rather than rewriting the whole request blindly.

final check

This decision table helps you verify that your request matches your starting material. It describes a useful workflow, not a promise that every input or control is available at the linked destination.

Path A: new image
Path B: existing image

Starting material

Path A: new image

A written description of the scene you want

Path B: existing image

An image you can use, plus a written edit request

Main goal

Path A: new image

Create a visual interpretation of an idea

Path B: existing image

Change part of a supplied visual

First sentence

Path A: new image

Name the subject, setting, and intended look

Path B: existing image

Name the part to change and the intended replacement

Useful constraints

Path A: new image

Composition, lighting, colors, and unwanted elements

Path B: existing image

Features to preserve, area to modify, and unwanted changes

Review priority

Path A: new image

Check whether the subject and scene match the brief

Path B: existing image

Check whether the edit worked without disturbing preserved details

If the result misses

Path A: new image

Clarify the most important visual requirement

Path B: existing image

Narrow the edit and restate what must remain unchanged

Check your request, then continue

Take a focused request to Seedream

Before opening the linked tool, read your request once as if you had never seen the image in your head. For a new scene, can someone identify the subject, setting, and look? For an edit, is the change distinct from the details you want to preserve? If the answer is unclear, simplify the wording. Then check the destination's current capabilities and instructions before submitting an image or relying on a particular output.

Open Seedream editor
  • Use a scene description for a new image
  • Use a source image and a specific instruction for an edit
  • Inspect the result against your original request

tutorial FAQ

Decide whether you want to describe a new image or edit one you already have. Write a short request that names the subject and desired result, then open the linked tool and check which inputs it currently accepts.

For a new image, include a subject, setting, lighting, and one or two important constraints. For an edit, identify the change and explicitly name the details that should remain unchanged.

An editing workflow needs a source image, while a new-image workflow begins with a description. The available inputs depend on the destination you open, so check its current interface before preparing a particular workflow.

Compare the result with the most important requirement in your prompt. Revise that requirement in concrete visual terms, or narrow an edit to one change while restating what should be preserved.

No. The box is a starting point for a written request and does not upload an image or perform an edit on this page. Open the linked destination to see whether and how it accepts your source image.

Create images
Create images