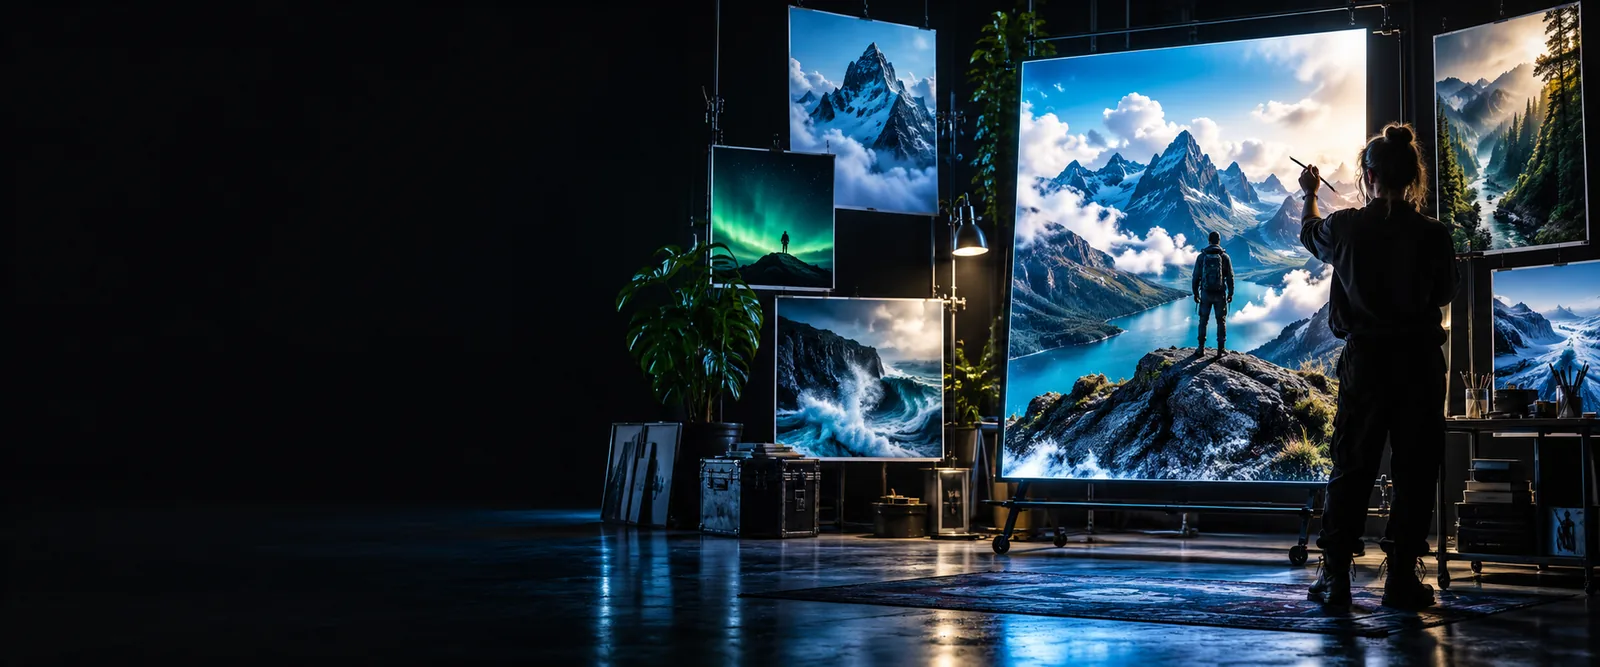
Seedream AI

Prompt craft

Write a seedream 4.5 realism prompt with purpose

A seedream 4.5 realism prompt works best when it describes a believable scene rather than simply asking for a photorealistic image. Start with a subject, then specify the light, visible materials, camera position, and details that should remain imperfect.

Check the selected model before running
Seedream landing-page image

Where a realism-focused prompt falls short

More descriptive text is not a guarantee of a better image. These limits matter before you spend time refining small details.

It cannot verify real-world accuracy

A convincing street, object, or face may still contain invented details. Visual plausibility is different from a faithful record of a place or person.

Workaround

Use reference material and independently check any details that must be accurate.

It cannot guarantee consistent identity

Repeating the same character description may change facial features, clothing, or proportions across separate images.

Workaround

Keep distinctive traits explicit and compare outputs rather than assuming a new generation will match.

It cannot fix every artifact with adjectives

Extra requests for flawless realism may leave hands, reflections, lettering, or small objects looking wrong.

Workaround

Revise one visible issue at a time, or choose a composition that makes it less prominent.

Three details that give realism direction

These steps make a photographic goal easier to describe and easier to evaluate.

  1. 1

    Anchor the subject

    Name the person, product, or setting and what it is doing. “A commuter waiting under a bus shelter” gives Seedream a clearer scene than “realistic person in a city.”

  2. 2

    Describe observable light

    Say where light comes from and what it touches: overcast daylight on a coat, warm window light across a table, or neon reflected in wet asphalt.

  3. 3

    Choose a camera viewpoint

    Add eye-level or overhead framing, approximate lens language if useful, and a background treatment. Keep the details compatible with one photograph.

Choose your next starting point

Use the image-generation overview for a broader task, or follow a model-specific guide when you need more than a single realism example.

The realism entry point versus a general prompt

Both can describe the same subject. The difference is which visual decisions you make explicit before generating.

General image prompt
Realism-focused prompt

Subject

General image prompt

A portrait in a city

Realism-focused prompt

A commuter beneath a glass bus shelter

Lighting

General image prompt

Beautiful lighting

Realism-focused prompt

Cool dusk light with a warm storefront reflection

Surface detail

General image prompt

Highly detailed

Realism-focused prompt

Damp coat fabric and uneven droplets on glass

Framing

General image prompt

Portrait composition

Realism-focused prompt

Eye-level, waist-up framing with the street behind

Background

General image prompt

Urban background

Realism-focused prompt

Softly receding traffic lights and wet pavement

Evaluation

General image prompt

Does the image look appealing?

Realism-focused prompt

Do the light, materials, and perspective agree?

Adapt the same method to your subject

A useful Seedream prompt changes its concrete details with the scene; realism is not one fixed style.

Portrait maker

Describe a person beside a window, including the direction of daylight, clothing texture, and an unforced expression.

Judge whether the face, shadows, and setting feel like parts of the same photograph.

seedream 4.5 prompting guide

Product stylist

Place a perfume bottle on a stone surface and describe the reflection, label visibility, and soft side lighting.

Check the bottle geometry and contact shadow before adding more decorative details.

seedream image generator

Environment designer

Specify a lakeside village at dawn, with a clear viewpoint, atmospheric distance, and believable water reflections.

Use the scene to test spatial coherence, not just richness of color.

seedream prompt example

Visual editor

When working from an existing image, identify the one lighting or material change you want to make.

Review what changed and whether important original features remain intact.

how to use seedream

What to compare in a visual result

Rainy city portrait example for examining light and surface detail Scene example
Illustration accompanying the Seedream realism prompt guide Prompt illustration
These are illustrative images, not a verified before-and-after generation pair. When reviewing your own Seedream output, look for consistent shadows, natural surfaces, and a viewpoint that makes sense.

Put the description to work

Test a scene, then revise what you can see

Start with a specific subject, one light source, and a clear camera view. After you inspect the result, change the detail that matters most instead of adding a long list of realism adjectives. The destination may offer a different Seedream model version, so confirm its model and available controls there.

Try a scene prompt
  • Describe visible evidence, not just a style label
  • Check perspective and reflections
  • Revise one issue at a time

Realism prompt FAQ

Include a specific subject, setting, light source, camera viewpoint, and a few observable surface details. Keep those details compatible so the result has a coherent photographic direction.

That word states your goal but gives little guidance about the scene. Describing where light falls, how materials behave, and what the camera sees gives you more concrete details to assess.

A detailed prompt cannot guarantee that every small feature will render correctly. Inspect the result and simplify a difficult pose or crowded composition before adding more descriptive language.

Long enough to establish the subject and the few visual decisions that matter, but not so long that instructions conflict. Start with a compact scene description, then revise it in response to an actual result.

Create images
Create images